“Trezor.io/start”
Getting started with a hardware wallet can feel overwhelming, especially if you are new to cryptocurrency. That’s why Trezor.io/start exists. It is the official and safest place to begin setting up your Trezor device—whether you own a Trezor Model One or a Trezor Model T. This page guides you through each step so you can secure your crypto with confidence. In this article, we explain what the page does, how the setup process works, and why a hardware wallet like Trezor is one of the best ways to protect your digital assets.
What Is Trezor.io/start?
Trezor.io/start is the official onboarding page created by Trezor, the company behind one of the world’s first hardware wallets. This page helps you activate your Trezor device, install the required software, and create a secure recovery seed. Instead of searching online and risking fake sites or misleading guides, Trezor.io/start gives you the trusted and correct instructions.
Once you visit the page, you will be directed to download Trezor Suite, create a wallet, and set up all important security features. The site is designed for beginners, written in simple language, and works with both Trezor models.
Why Use a Hardware Wallet?
Many people store crypto on exchanges or mobile apps. While convenient, these options are not always safe. Exchanges have been hacked, apps can be attacked by malware, and internet-connected wallets are always at risk.
A Trezor hardware wallet stores your private keys offline, inside the physical device. This means:
Your crypto stays safe even if your computer is hacked.
No one can access your funds without your device and PIN.
You control your crypto fully—no reliance on companies or exchanges.
Every transaction must be approved physically on the device.
Your crypto is protected by hardware-level security, and setup begins only at Trezor.io/start.
Step-by-Step Guide to Using Trezor.io/start
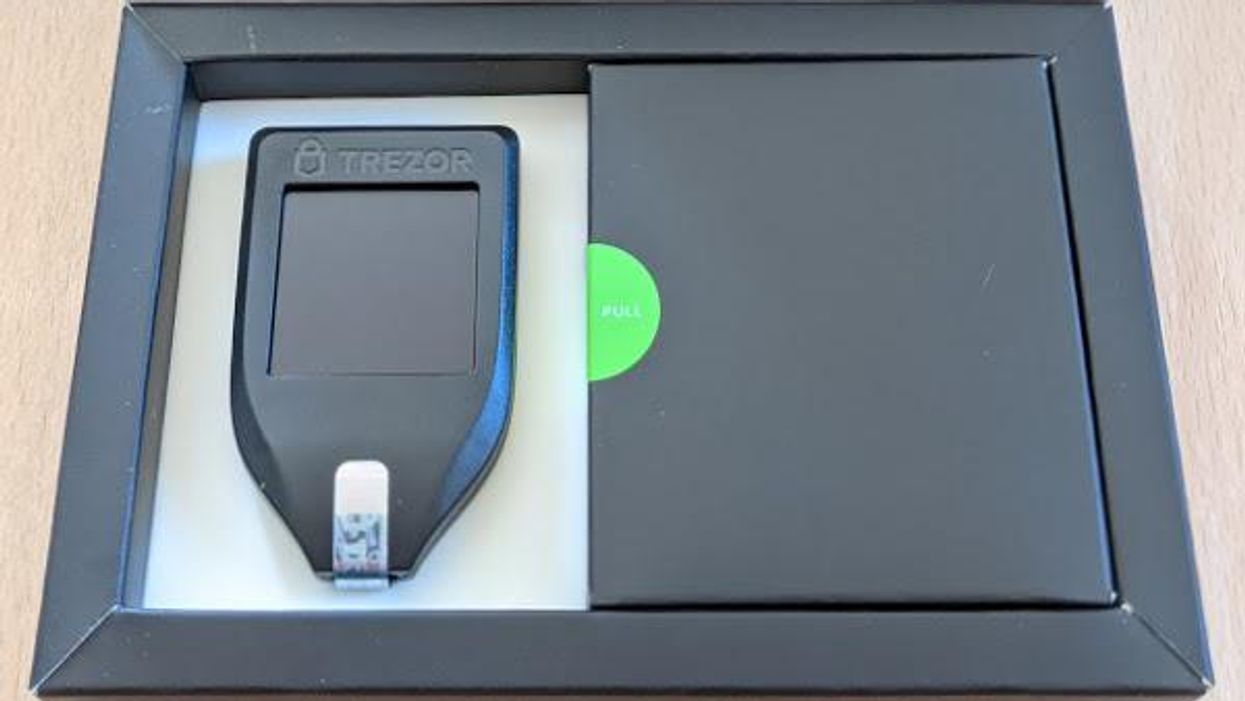
1. Unbox Your Trezor Device
Inside the package you will find:
The Trezor device
A USB cable
Recovery seed cards
A quick-start guide
Stickers
Check that your box is sealed properly. Trezor products should never come with a pre-written recovery phrase. If your box includes one, it may be a scam and you should not use it.
2. Go to the Official Website
On your computer, open your browser and type:
Always inspect the URL carefully. Wrong spellings or unofficial links may lead to fake sites created by scammers. Only use the official website provided above.
3. Download Trezor Suite
The Trezor.io/start page will lead you to download Trezor Suite, which is the official software used to manage your crypto wallet.
Trezor Suite allows you to:
Buy, send, and receive crypto
View your portfolio balance
Add multiple accounts
Update firmware
Adjust security settings
Choose the version that matches your operating system (Windows, macOS, or Linux), download it, and then install it.
4. Connect Your Trezor to Your Computer
Plug your Trezor wallet into the computer using the included USB cable. Trezor Suite will recognize your device right away. You will see on-screen prompts asking you to continue the setup. Follow the instructions carefully.
5. Install or Update Firmware
Most new devices require a firmware installation before you can continue. Firmware is the special software inside the hardware wallet that makes it secure and functional.
Trezor Suite will guide you automatically. To prevent tampering, Trezor asks you to confirm firmware actions on the device screen. These steps ensure your device is genuine and running the latest security updates.
6. Create a New Wallet
After firmware installation, select “Create a new wallet.”
This is where you will generate your recovery seed, which is the most important part of the setup.
The recovery seed is usually 12 or 24 words. This phrase is the only backup to restore your crypto if anything happens to the device.
When your Trezor displays the recovery words:
Write them down on the provided cards.
Do not take photos.
Do not save them digitally.
Do not share them with anyone.
Anyone with these words can access your crypto—so treat them like gold.
7. Set a PIN for Extra Security
Your device will now ask you to create a PIN. This PIN protects your wallet from unauthorized access. Without the PIN, no one can use your device, even if they physically have it.
Choose a PIN that is not easily guessable and keep it private.
8. Add Crypto Accounts and Start Using Trezor Suite
After completing the core setup, you can open Trezor Suite to begin managing your crypto. You can:
Add accounts for various coins (like Bitcoin or Ethereum)
Generate receiving addresses
Send crypto by confirming each transaction on your Trezor device
Track your balance and activities
Every action requires physical confirmation on your device, ensuring no malware or hacker can steal your funds.
Why Trezor.io/start Is the Safest Way to Begin
Trezor.io/start protects users—especially beginners—by offering verified instructions in one place. It prevents you from downloading fake apps or firmware from untrusted sources. Because crypto scams are common, using the official setup ensures:
Your device stays secure
Your software is authentic
Your recovery seed is generated safely
Your wallet is correctly configured from the beginning
By following the official setup steps, you take full control of your digital assets with the strongest security available.
Final Thoughts
Trezor.io/start is the trusted starting point for setting up your Trezor hardware wallet. It walks you through connecting your device, installing Trezor Suite, generating your recovery seed, and securing your PIN. Once your wallet is ready, you can store, send, and receive crypto with confidence—knowing your private keys are kept offline and under your full control. Whether you are a beginner or an experienced crypto user, Trezor provides peace of mind through superior security and an easy setup process.